Coffee Machine Reviews
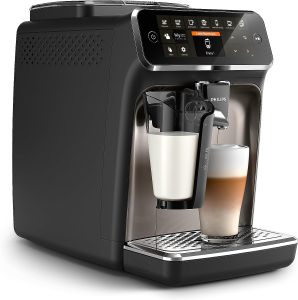
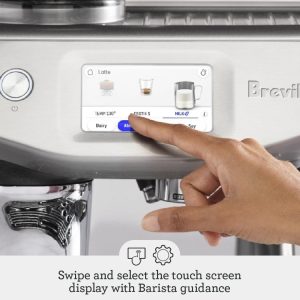
Breville Barista Touch Impress Espresso Machine Review
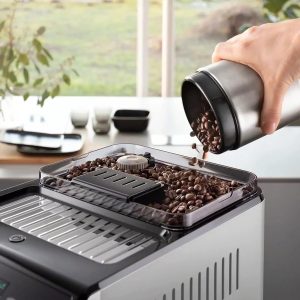
Get a barista-like experience at home with the Breville Barista Touch Impress Espresso Machine. Its intuitive touchscreen interface and advanced features ensure precise extraction and great-tasting coffee. Elevate your mornings with this easy-to-use machine.